Gluten-free Sourdough Bread

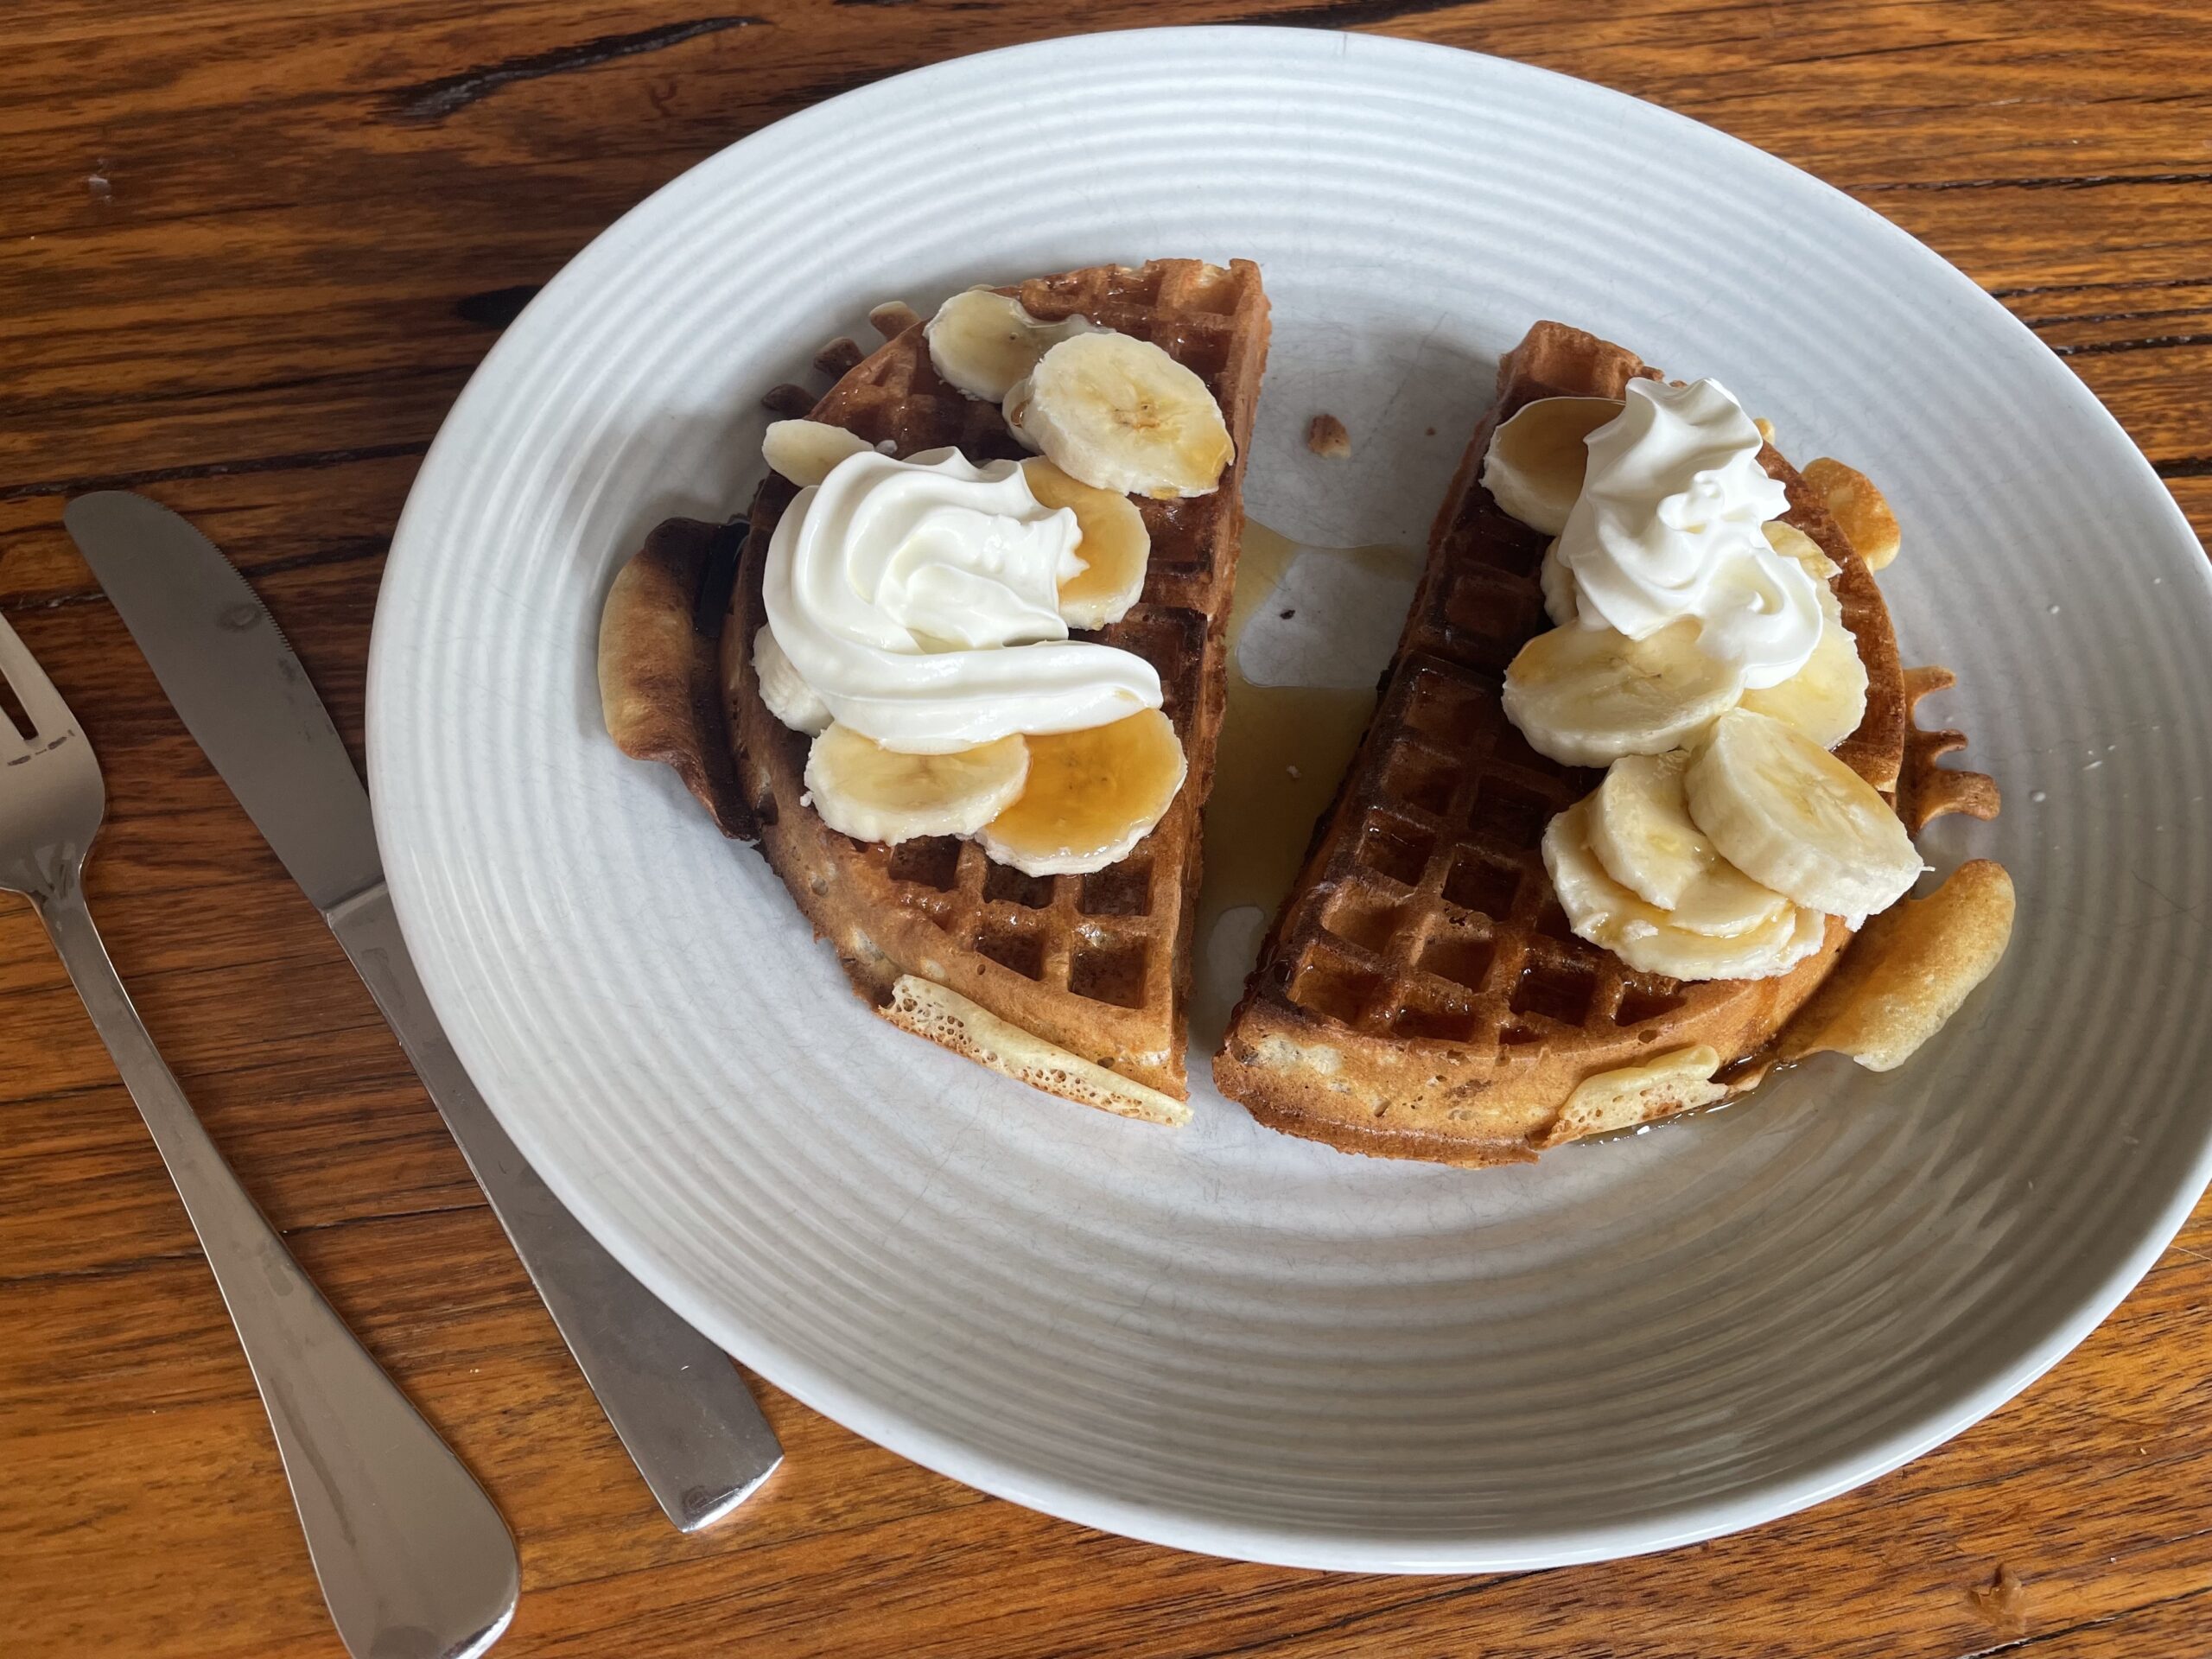
Just before Melbourne went into Covid-related lockdown for the fifth time, I joined a gluten-free sourdough bread-making class at a nearby cafe. Their chef, Dom Marzano, shared tips on how to bake a tasty, white, gluten-free sourdough loaf just like they sell in the cafe. I found that their recipe worked just as well with my sourdough starter – a revelation! The secret to achieving a great loaf was not to use a special sourdough starter, but simply use the right flour mix. In this case, the flour mix is the Well & Good Crusty Bread Mix, which sells for about $6 for a 410g pack.

Many gluten-free sourdough bread recipes that I’ve come across require a few exotic flours, so $6 to bake a loaf is reasonable. The Well & Good flour mix magic seems to come from its particular combination of thickeners, which include usual suspects like xanthan gum, guar gum and psyllium husk, plus some others. They’ve done the science to figure out how to make gluten free flours behave like wheat flour, and now I don’t have to.

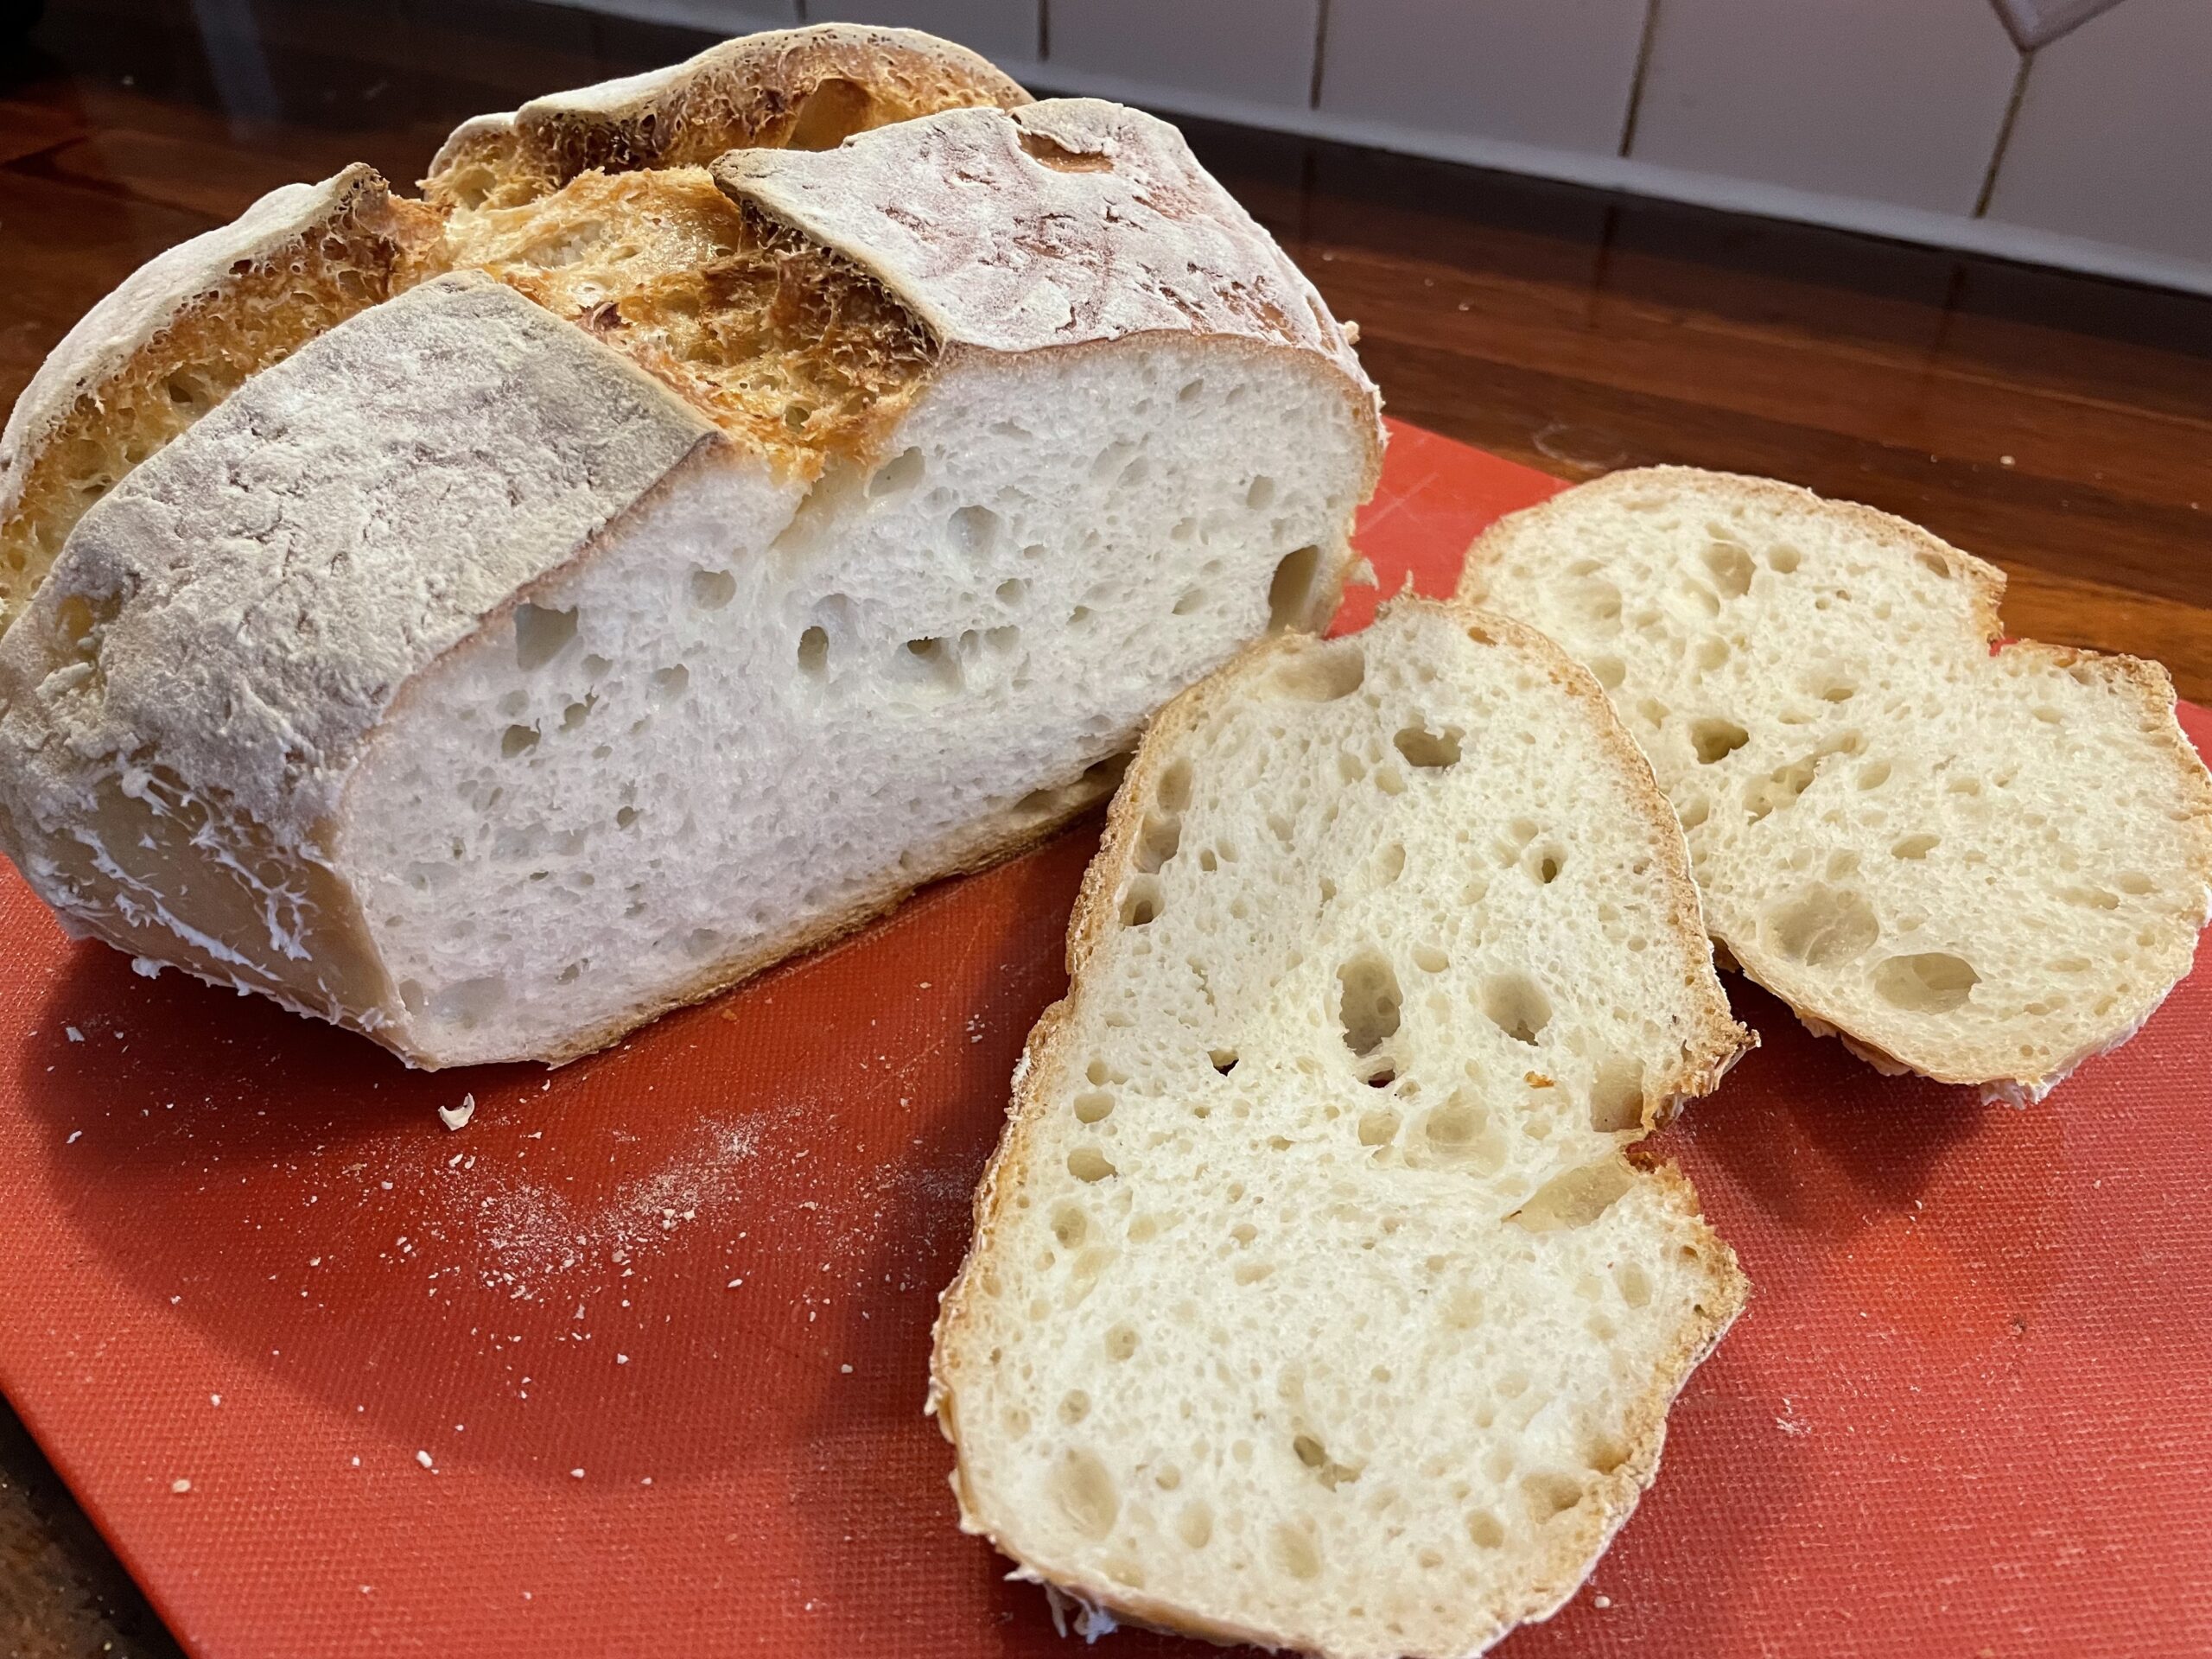
I maintain a sourdough starter at just 60g, so the recipe below starts from this basis and explains how to build it up and then turn it into a loaf of bread over four days, ready to eat on the morning of the fifth day. It slices up pretty well, so I would say it’s worth the wait!

In the instructions below, I use normal Melbourne tap water (not any warmer than a tepid temperature). If you’re in another region, you may prefer to use bottled water, or boil and then cool tap water instead. Also, I use a half-half mix of brown rice and glutinous rice flour to bulk up the starter to the right amount to bake a loaf, but you can use whatever you’ve been feeding your starter, or even the same Well & Good Crusty Bread mix to keep it simple (if you have extra).

Ingredients – Day 1

  • 60g of sourdough starter (from the fridge)
  • 45mL (at least) water
  • 45g flour (half-half brown rice flour and glutinous rice flour)

Method – Day 1

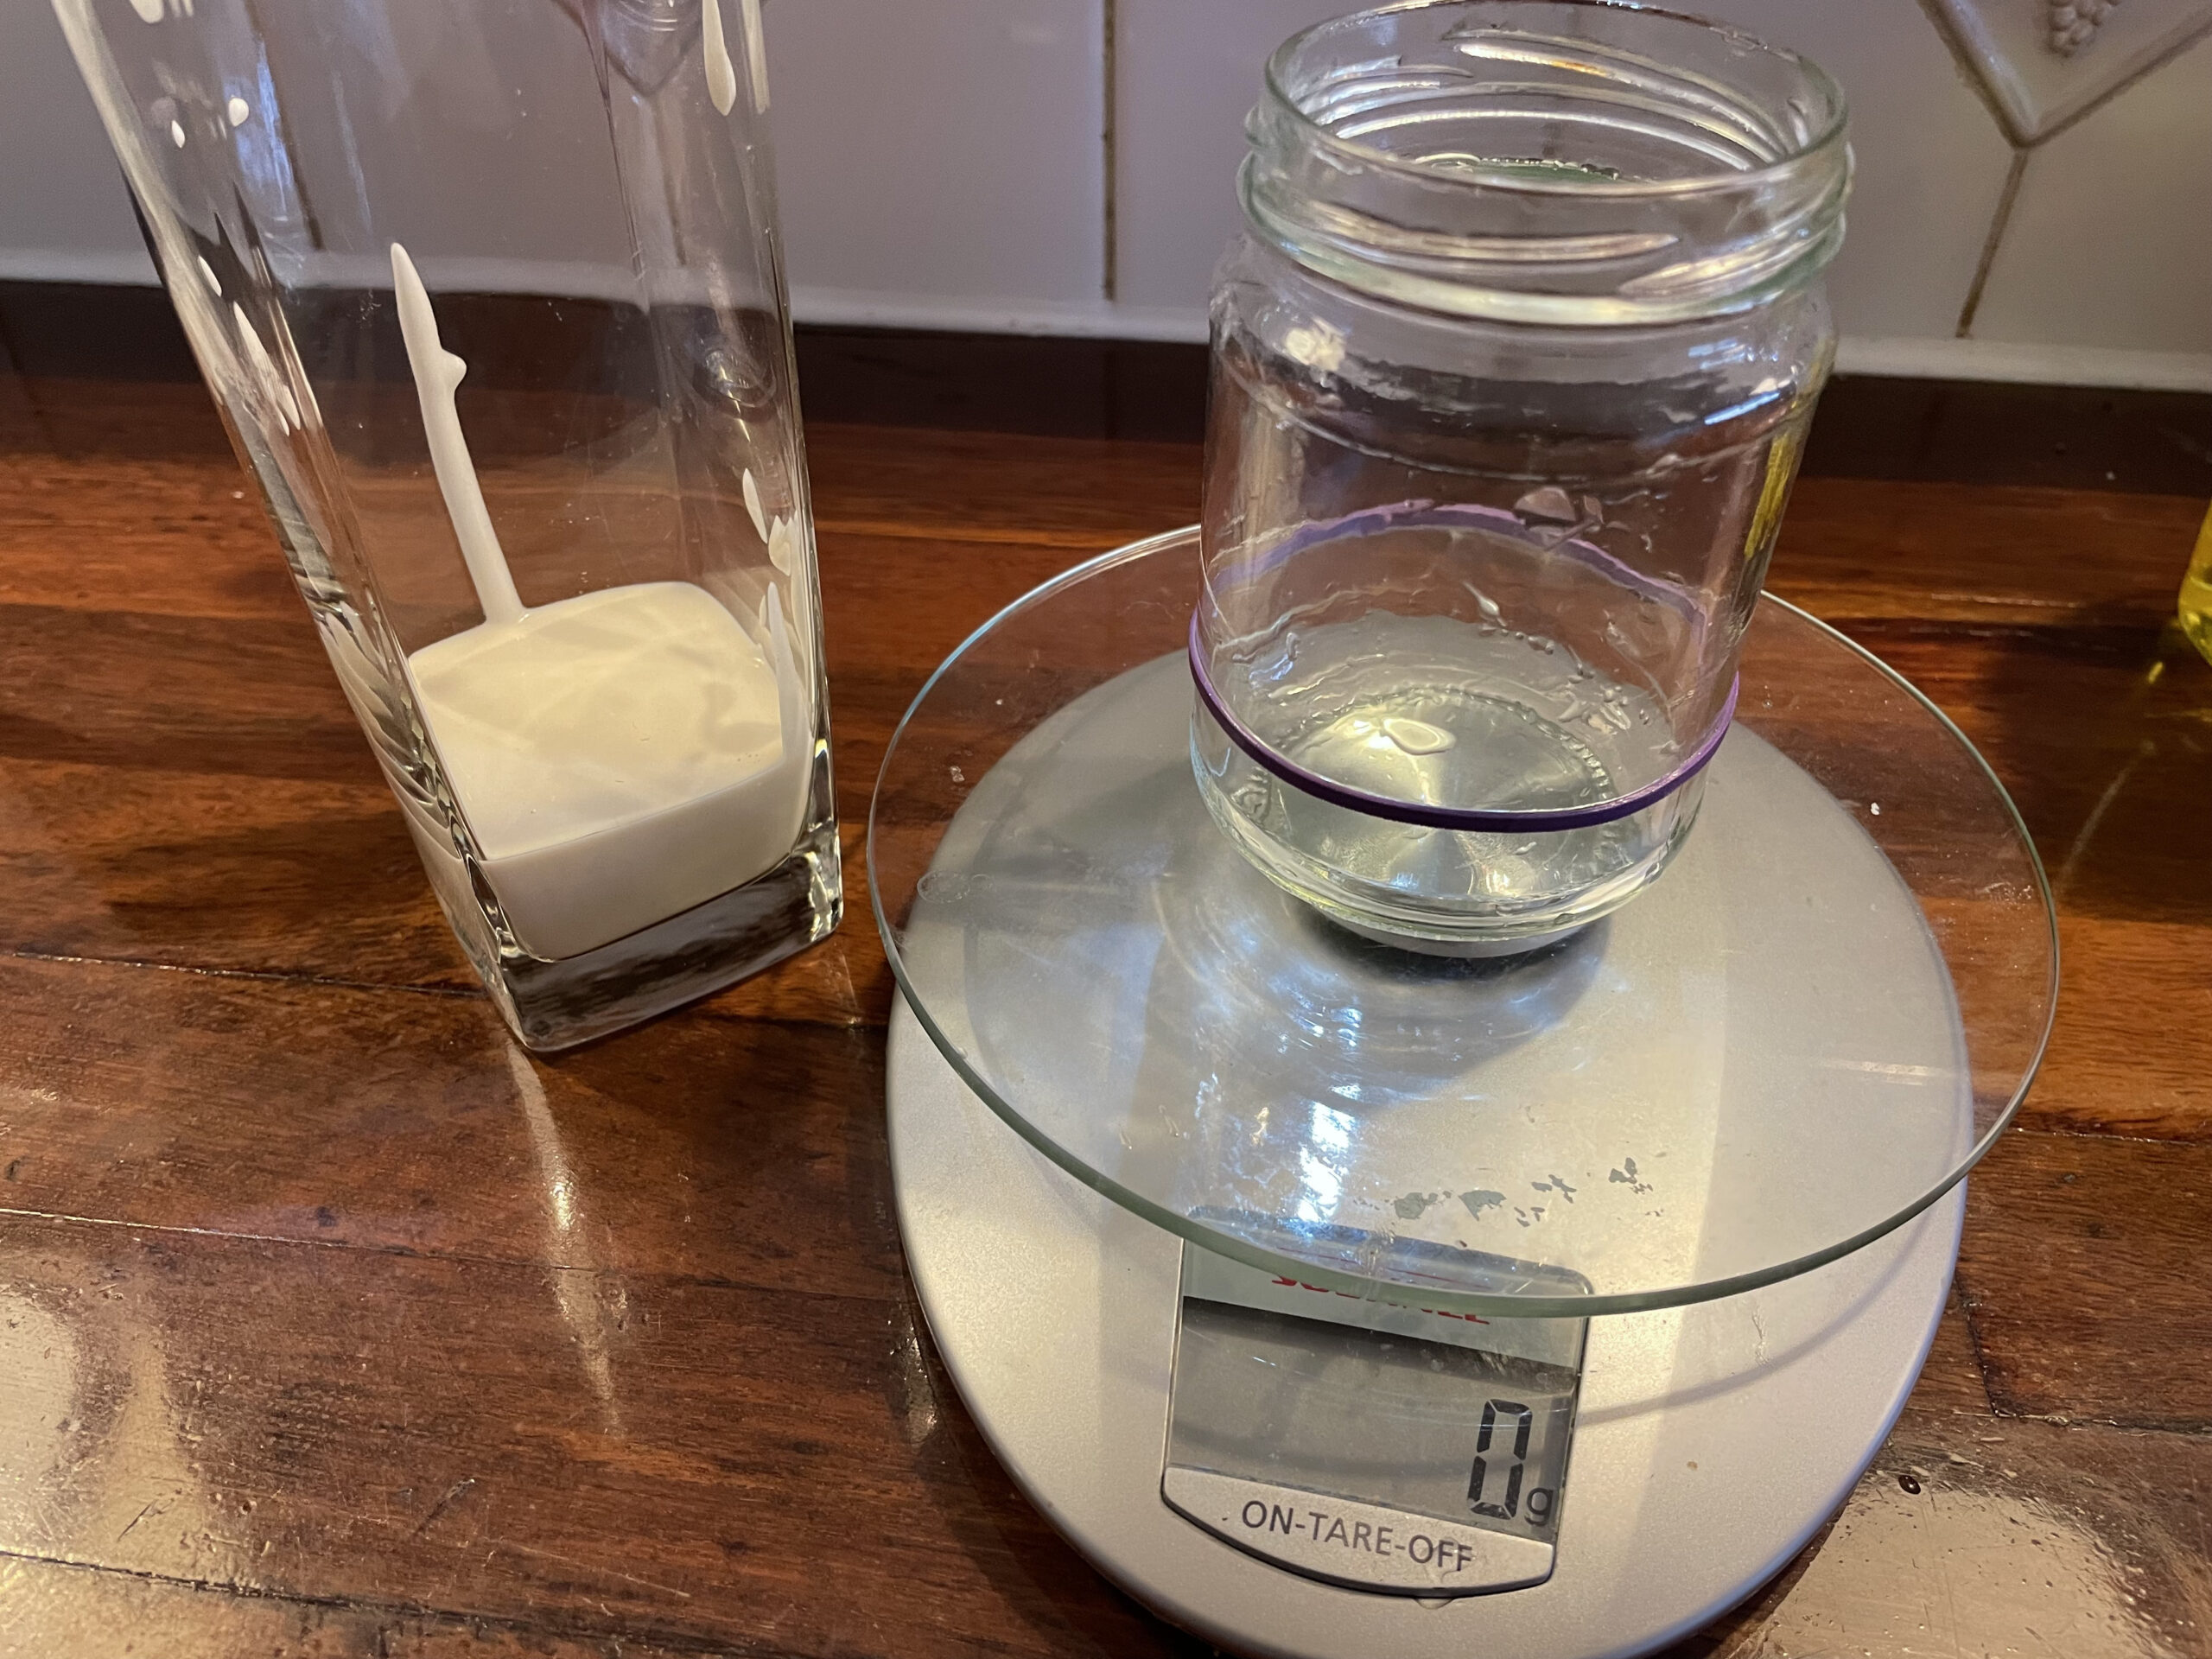
  1. Get the sourdough starter out of the fridge at the start of the day, and leave somewhere warm like the kitchen. Wait a few hours until it has warmed up and is looking bubbly.
  2. Follow the process previously described in the sourdough starter post under the feeding regime, but instead of discarding the remaining starter into the discard jar that’s kept in the fridge, put it in its own small container.
  3. Follow the feeding regime for the starter that is in this small container, but scaled appropriately to the amount that is in there. Assuming 25g of starter has gone into the small container, add 25g of water and 25g of flour. There should be no left over starter to go into the discard jar. You will now have both the starter jar and the small container with similar amounts of sourdough starter in it.
  4. Wait a few hours for the starter in the starter jar to have very tiny bubbles, and put it back into the fridge. However, do not put the small container into the fridge – leave it out on the bench or wherever you had it before. It doesn’t matter if it gets cold overnight.

Ingredients – Day 2

  • 70g of starter from Day 1
  • 70mL (at least) water
  • 70g flour (half-half brown rice flour and glutinous rice flour)

Method – Day 2

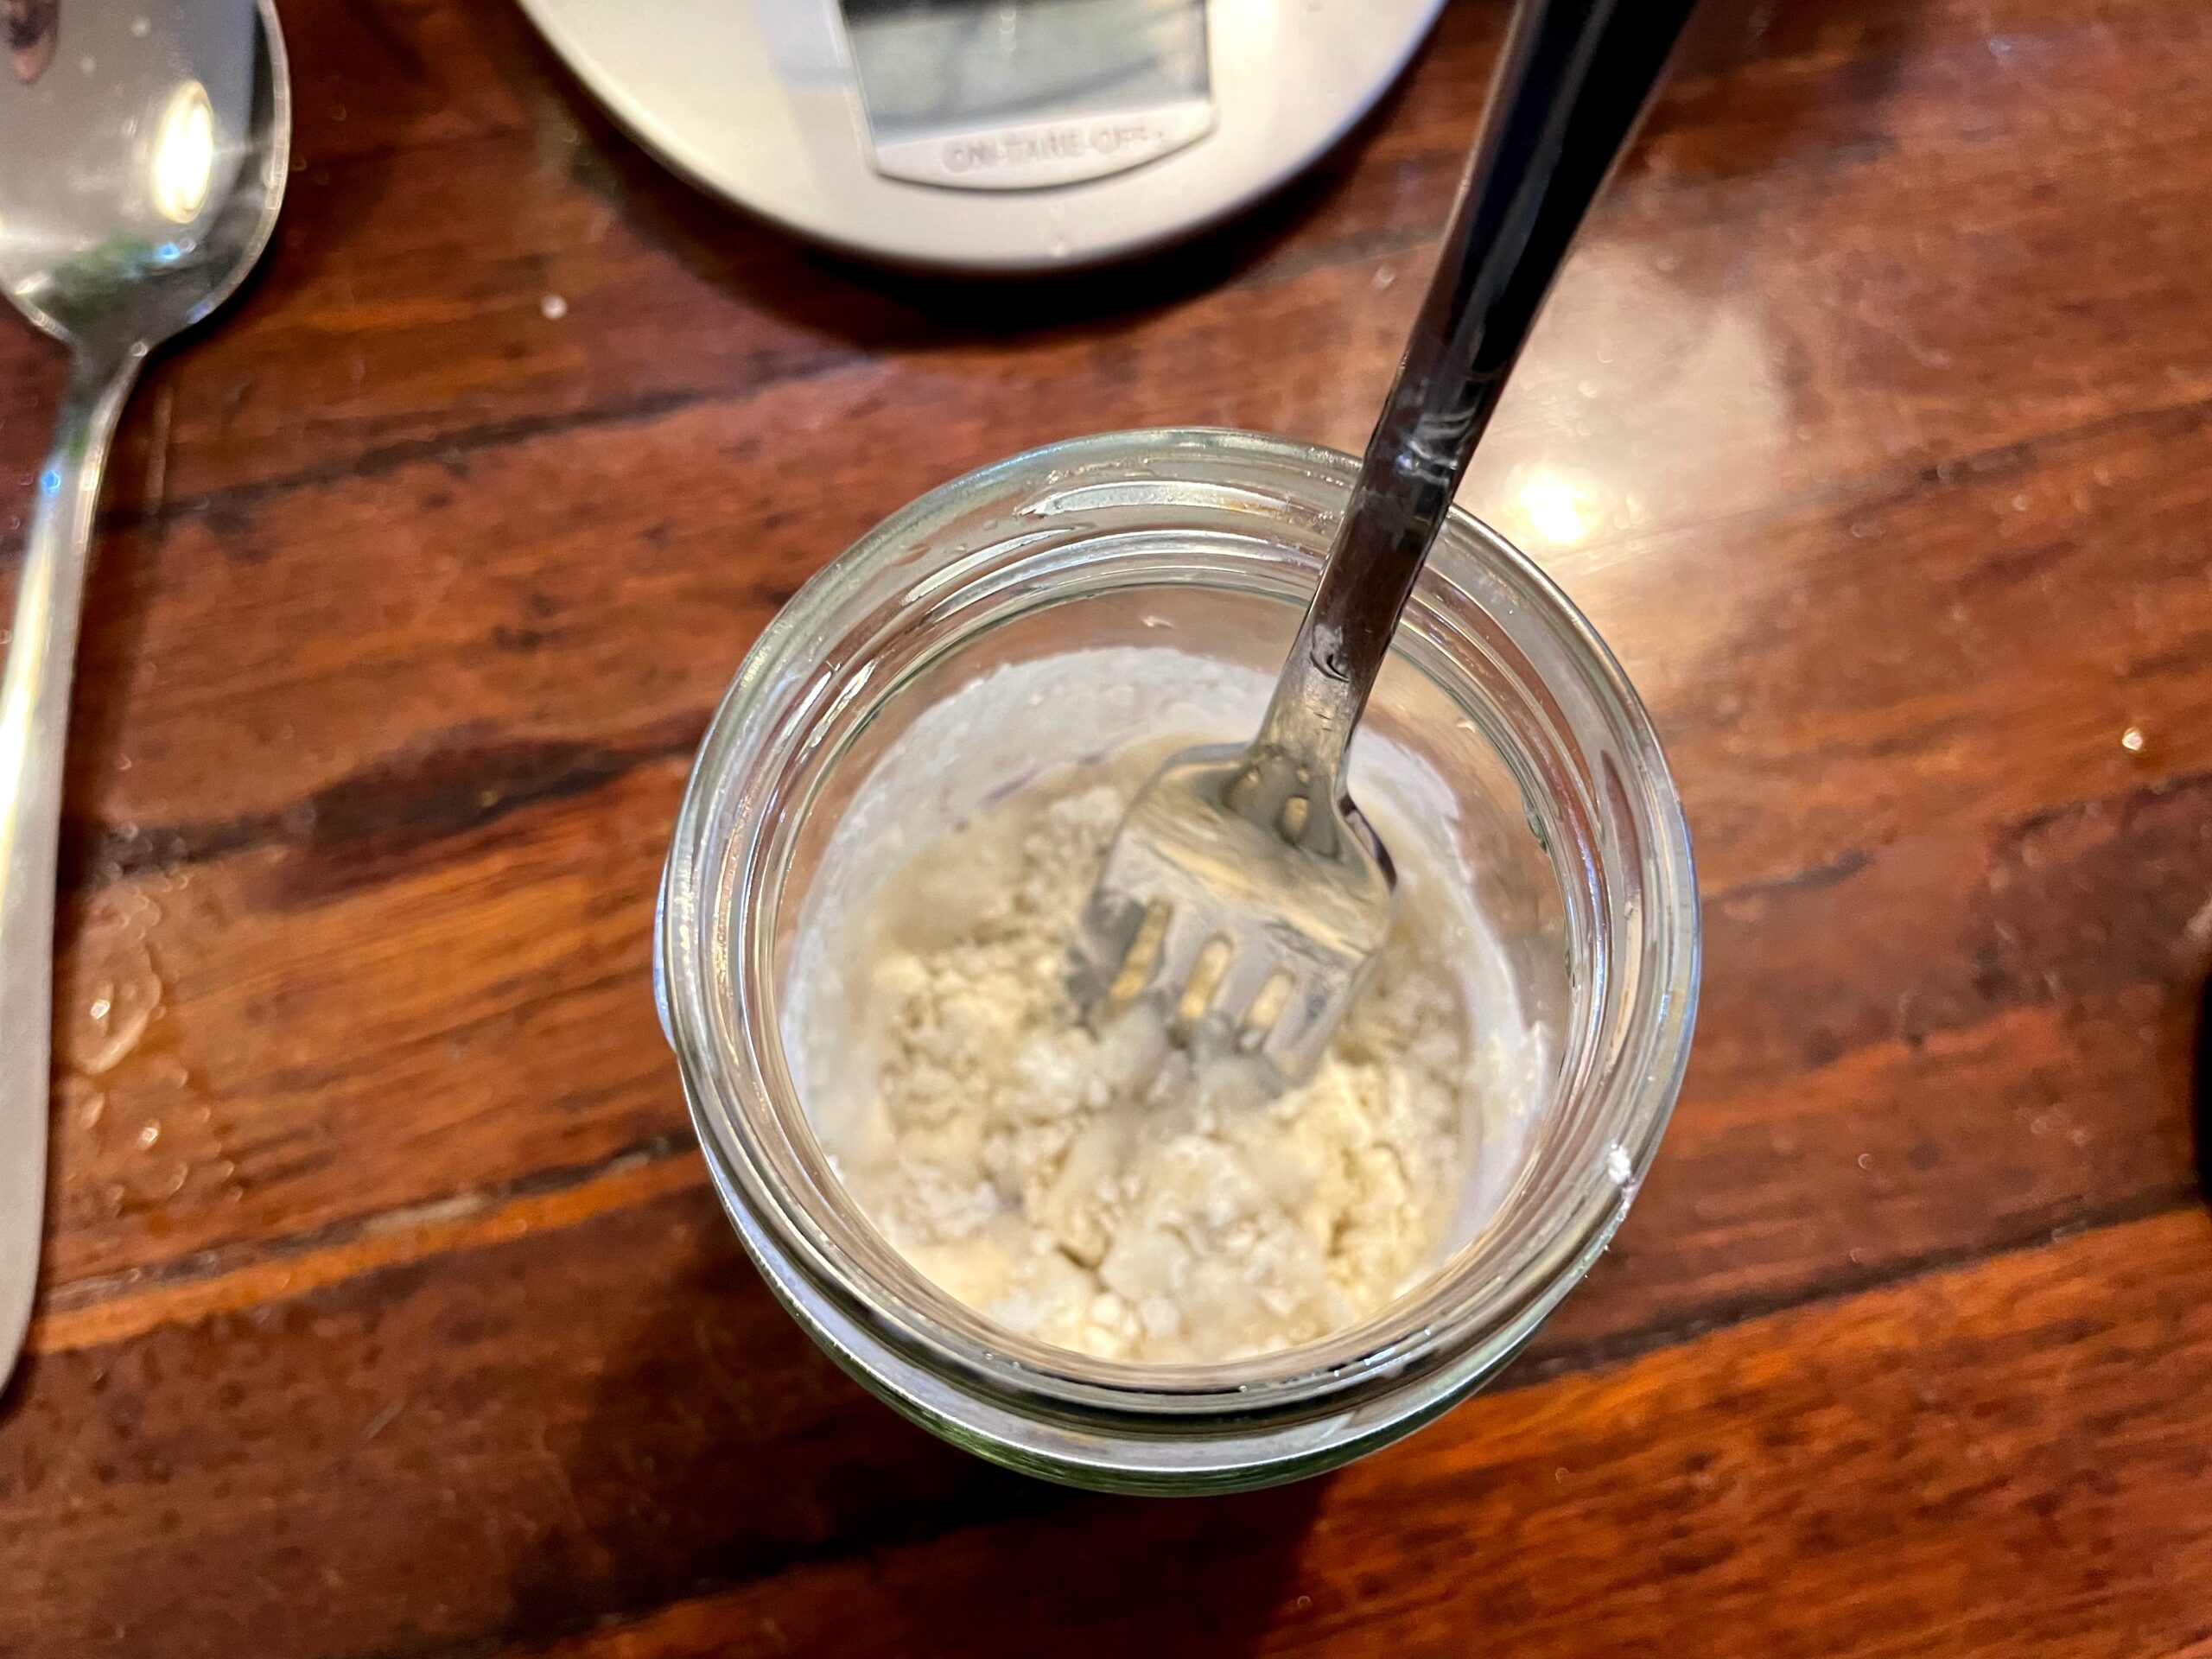
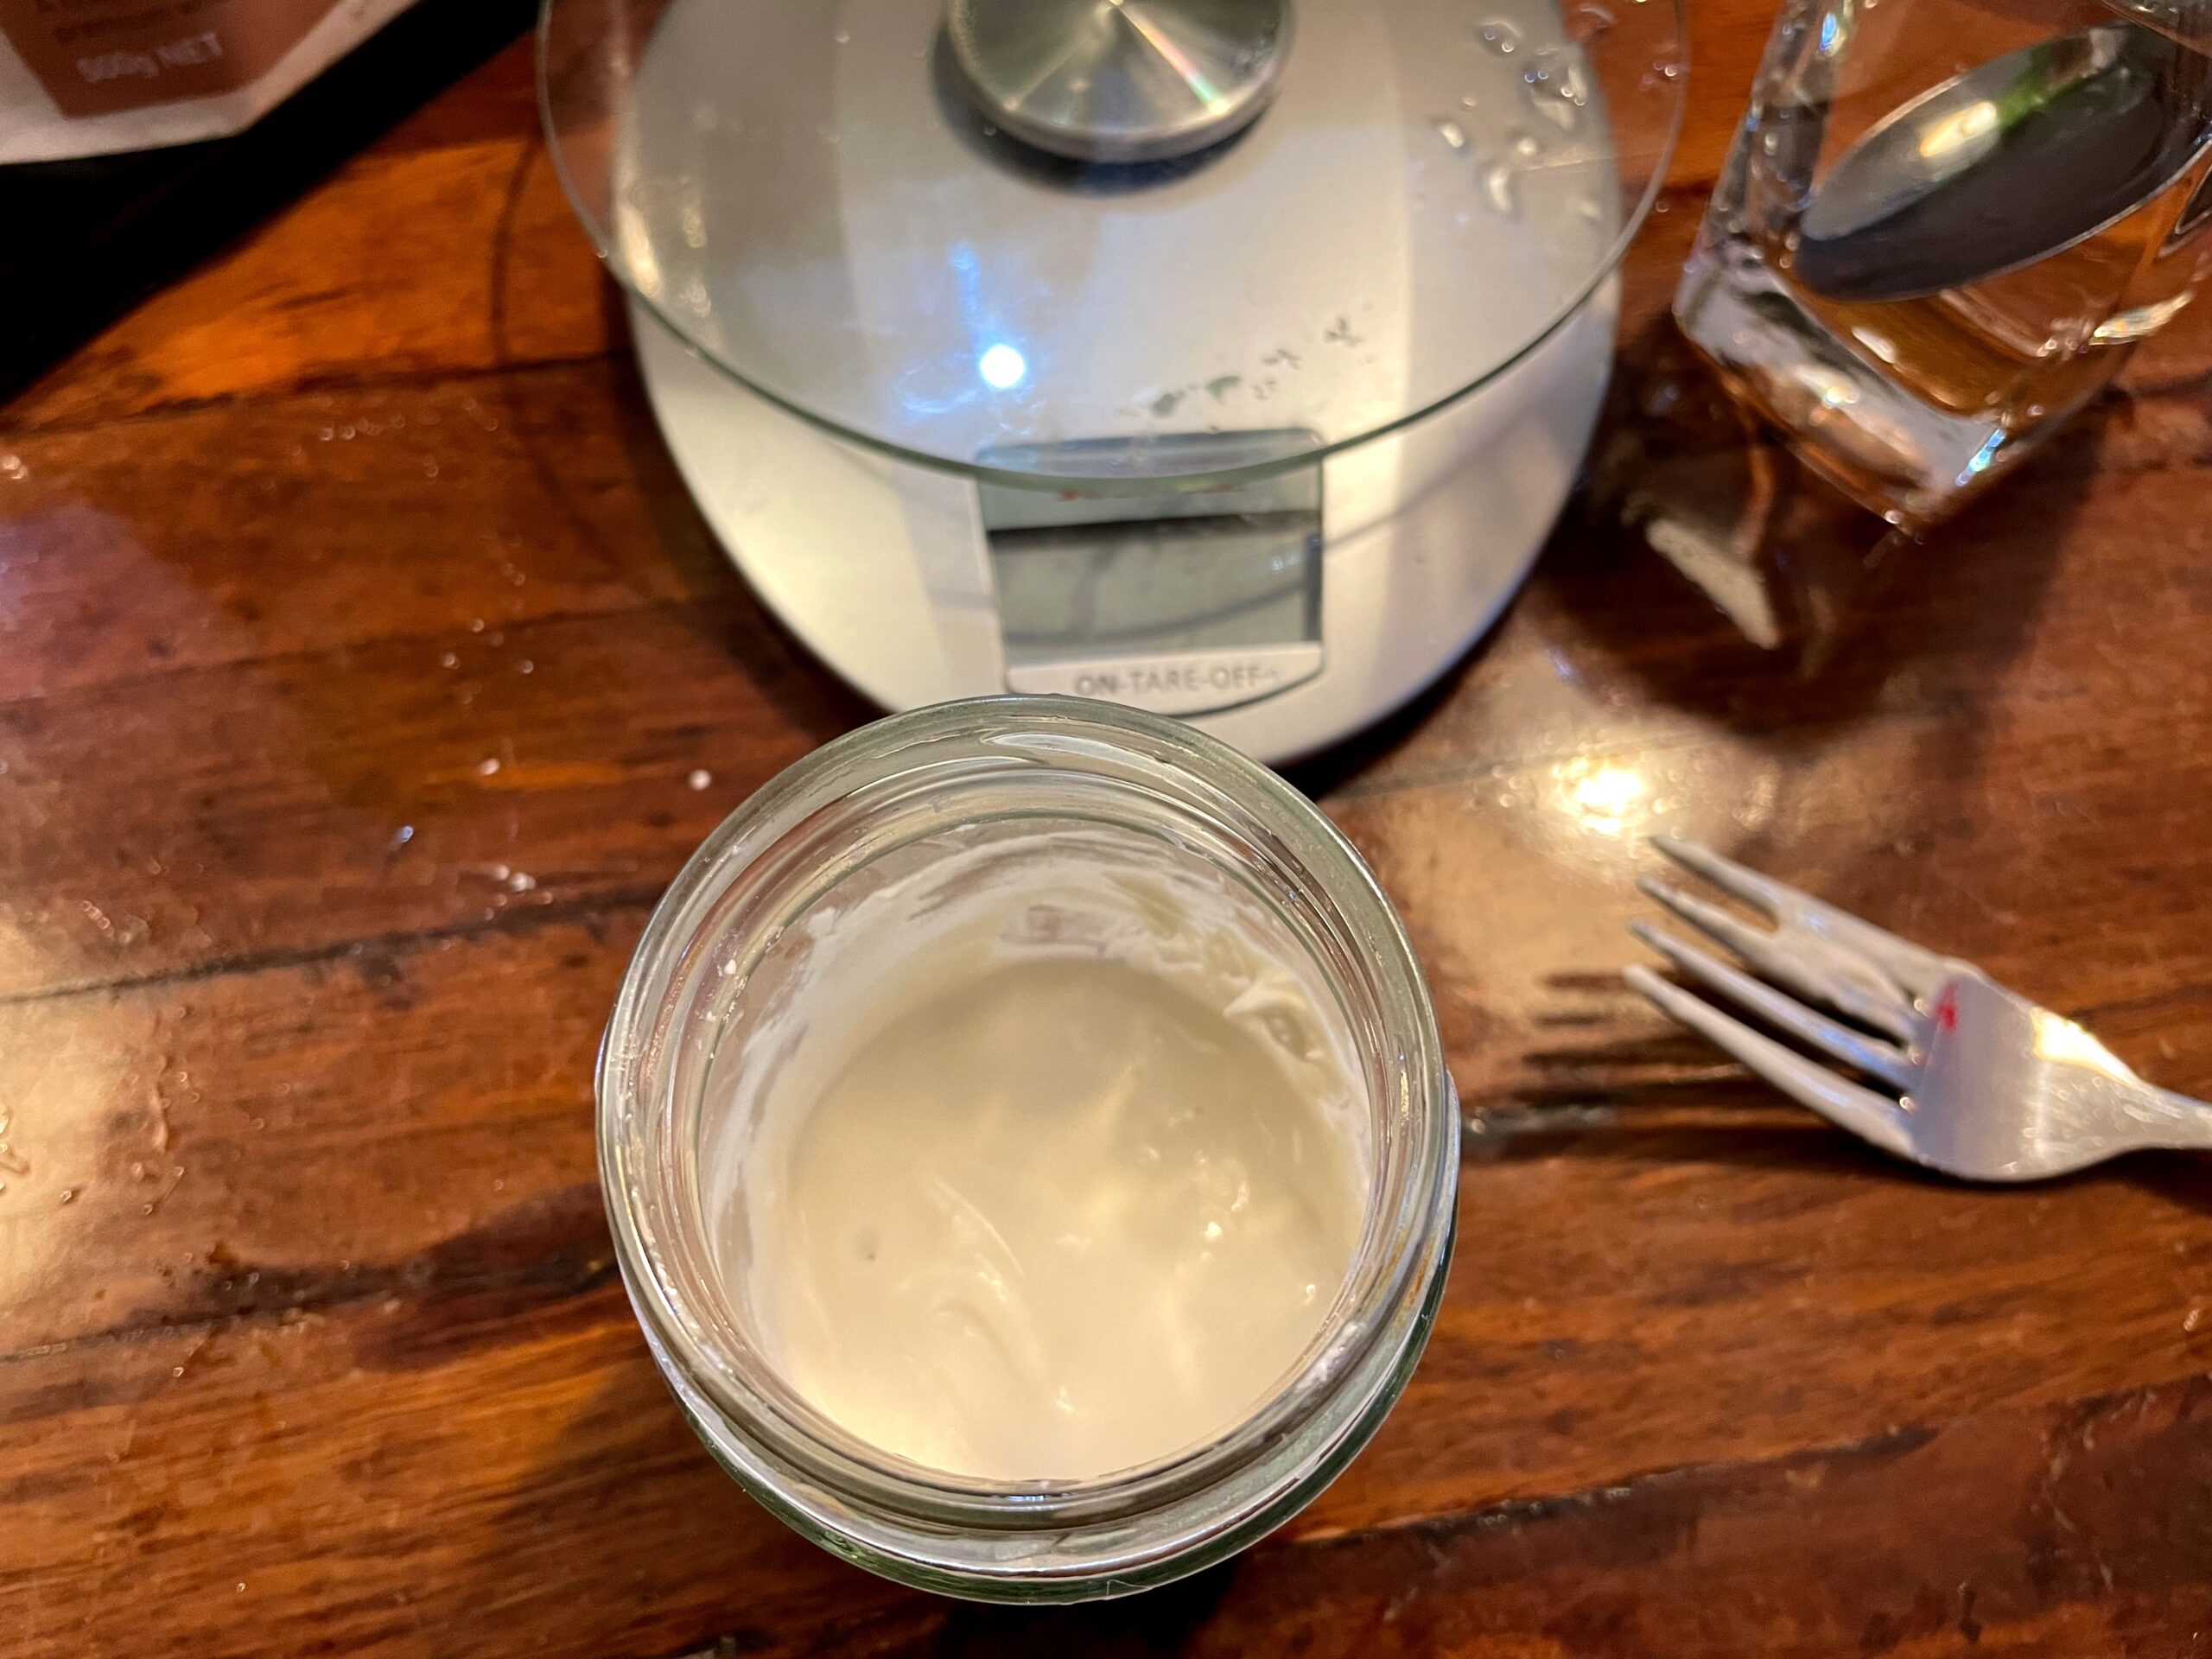
  1. About 24 hours after the starter was put into the small container (perhaps around midday), it should look bubbly and is ready to do the feeding regime again, which will triple its weight. Scrape the starter into a medium container, and weigh it.
  2. Follow the feeding regime again for the starter that is in this container, but scaled appropriately to the amount that is in there. Assuming 70g of starter has gone into the medium container, add 70g of water and 70g of flour. Again, there is no discard.
  3. Leave the medium container out on the kitchen bench or somewhere warm.

Ingredients – Day 3

  • 200g of starter from Day 2
  • 300mL water
  • 400g Well & Good Crusty Bread mix (or equivalent speciality bread flour)
  • 20mL olive oil
  • 5g table salt
  • fine rice flour for dusting

Method – Day 3

  1. About 24 hours after the starter was put into the medium container (perhaps around midday), it should look bubbly and is ready. Prepare a banneton, or proofing basket, by dusting with fine rice flour and knocking it around to ensure it is even. If you don’t have a banneton, you can use a ricotta basket or even a plastic colander (if the holes are big, you can also put a cotton tea towel in it first).
  2. Scrape it into a mixing bowl, along with all the other ingredients, and mix with a dough hook. You can also use a spoon and/or your hands, but that will be a bit messier. Unlike with a gluten-based dough, you don’t need to mix and pound it for ages. After 2 or 3 minutes, it should have been combined together sufficiently.
  3. Put a small amount of oil on your hands to prevent the dough sticking, and pull the dough out with your hands, shaping it into a ball. If it is really sticky and the surface is rough, that’s not a problem.
  4. Push the dough ball into the banneton so it is flattened against the bottom. Protect the dough from drying out by spraying oil onto some cling film that is stretched over the top of the banneton, or just put the whole banneton in a plastic freezer bag.
  5. Leave the banneton out on the kitchen bench or somewhere warm.

Ingredients – Day 4

  • Dough from Day 3

Method – Day 4

  1. About 24 hours after the dough was left to rise, it should have doubled in size. You can let it go longer (say 36 hours) if the room has been a bit cold overall and it needs it to achieve the doubling. It is now ready to bake!
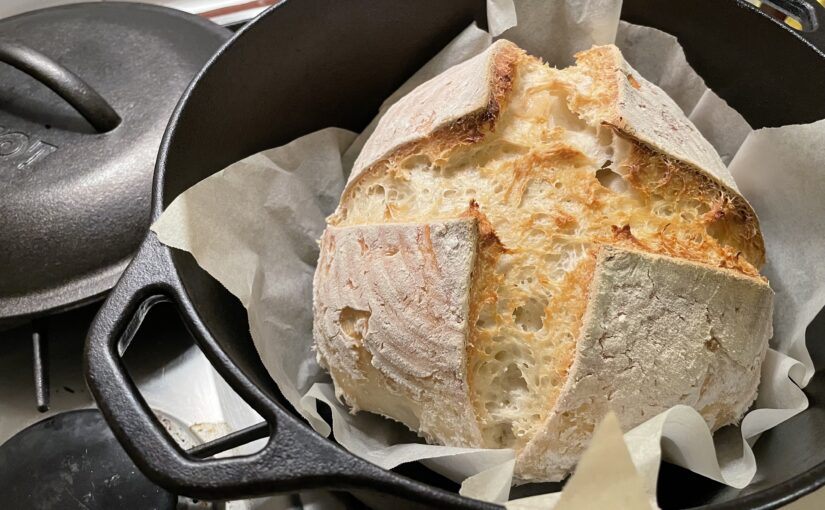
  2. Set oven to 220 degrees Celcius, and place a cast iron dutch oven in there with the lid on, to warm up. Leave it at least 30 mins from when the oven is at temperature so that the dutch oven is definitely hot. I use a 4.7L dutch oven, which works well, but you can go bigger. If you don’t have a dutch oven, you can apparently use a pizza stone together with a foil cover. However, using a dutch oven or a bessemer pot is the recommended way to go, as it provides heat while retaining moisture during the expansion phase of the baking.
  3. Remove the plastic (cling film or freezer bag) cover from the banneton. Get a large piece of baking paper ready, and place this on top of the dough. Gently invert the banneton so the dough comes out of the banneton and is resting on the baking paper.
  4. With a sharp knife, slice (score) a pattern on the top of the dough. Unlike with gluten-based bread, you don’t need a special razor blade – a kitchen knife will do. Cut into the top of the dough about 1 cm as you go. You can choose from a variety of patterns. I like to either score a big X (as seen in the photos here) or score three parallel lines across the top. The chef in my sourdough class liked to do a tic-tac-toe board style pattern. Do a web search for “scoring patterns” if you want inspiration.
  5. Moving quickly, take the dutch oven out of the oven, and remove the lid. Gently lower the baking paper with the dough on top into the dutch oven, but remember the dutch oven is really hot. Replace the dutch oven’s lid and return to the oven. Reduce the temperature to 200 degrees Celcius. Bake for 20-25 mins.
  6. Take the dutch oven out of the oven, and remove the lid. Return it to the oven without the lid. Bake for another 20-25 mins.
  7. Take the dutch oven out, and let it stand for 10 mins or so before removing the bread and letting cool completely on a cooling rack. This takes a couple of hours.
  8. Often by this point it is the evening of the fourth day, so I’m not ready to eat the bread straight away. It will be breakfast on the morning of the fifth day! I like to put my bread in a paper bag, and then in a sealed plastic bag to keep it fresh.
  9. Enjoy!

Gluten-Free Sourdough Waffles

I previously described how I maintain my sourdough starter at 60g in the fridge, feeding it weekly. Since sourdough can basically triple itself in 24 hrs (or in a week in my case, since I keep it in the fridge), I need to discard 2/3rd of it each time so it maintains the same size. I also keep the discard in the fridge, in a separate jar, and it builds up at a rate of about 30g per week (with another 10g lost down the sink). What do I do with this? A popular option is to turn it into waffles!

I received a Breville “the No Mess Waffle” maker appliance as a present a few years back, before I went gluten-free, and made lots of different types of waffles. I can confidently say that this recipe makes the best plain waffle that I’ve had from the waffle maker. It has a good crispy texture and a great taste that works as a vehicle for a range of sweet toppings.

My discard jar holds about 180g of discard, so it takes around 6 weeks to fill up and that’s probably about as frequent as we’d want to make waffles. The recipe below is heavily based on this sourdough waffle recipe from Cultures for Health. Note – it does need to be started the evening before, for cooking into waffles for breakfast the following morning.

Ingredients

  • 180g of discarded sourdough starter, from the fridge
  • 140mL of water (no warmer than lukewarm)
  • 90g white rice flour
  • 45g sticky rice flour (a.k.a. glutinous rice flour or sweet rice flour)
  • 45g cornflour
  • 1/4 teaspoon (heaped) baking powder
  • 1/2 teaspoon table salt
  • 1 tablespoon (20mL) maple syrup
  • 2 teaspoons (10mL) vanilla extract
  • 2 eggs
  • 30g unsalted butter, melted
  • 1/2 teaspoon bicarb soda
  • 1 teaspoon (5mL) water – optional

Method

  1. In a sealable bowl or container, mix the discard with the water, then mix in the flours. Seal and leave on the bench overnight.
  2. In the morning, when the discard has reactivated and turned the flour mixture bubbly, put the mixture in a large bowl, and add in the remaining ingredients (excepting the bicarb soda). Stir with a fork until there are no big lumps.
  3. If the bicarb soda is very powdery, it can be evenly sprinkled over the top. If it’s a bit lumpy, dissolve it in a teaspoon of water, then tip into the mixture. Quickly stir through and leave until ready to start cooking.
  4. Set the waffle maker to 5 (or desired crispness/brownness), and when ready, pour 1/2 cup (125mL) of mixture evenly across the cooking surface. Keep cooking each waffle this way until done.

Makes 6 waffles. Serve with maple syrup, sliced fruit, berries, cream/yoghurt, or however you like them!

Surplus waffles can be frozen, separated with baking paper. They reheat well split in half and popped in the toaster!

Gluten-Free Sourdough

I was late to lockdown-driven sourdough baking. It wasn’t until Melbourne’s second lockdown, in August 2020, that I finally got on the sourdough bandwagon. However, I have kept my sourdough starter alive since then, so I’ve achieved the ten-month milestone!

Still, if I was to share my starter with someone else, or, not that I want to think about it, fell sick and someone else needed to keep it going, my sourdough regime isn’t documented anywhere yet. This post is intended to record what I’ve been doing, and it’s a little bit different to other sourdough feeding approaches that I’ve read online.

It’s not radical or anything. It just suits me and my needs in two ways. Firstly, the sourdough starter is gluten-free. Secondly, it is pretty cheap given that it gets minimal feeding – only 20g of flour each week – unless I’m baking something.

Before I describe it, I’d like to credit my main inspirations for the technique I use:

Feeding Regime

I keep my sourdough starter in the fridge, and then one morning on the weekend, I remove it and allow it to warm up. This allows the starter to get active again, and after a few hours, it will be creating bubbles.

a jar with sourdough starter and in the background is a bag of brown rice flour and a bag of glutinous rice flour

As you can see here, I keep my sourdough starter in a small glass jar, and mark the fill level with a rubber band, in traditional style. In this picture, it has risen a little and looks bubbly. Note that this is basically as bubbly as it gets, unlike many pictures of other sourdough starters that you see online. However, it still seems to work perfectly fine for baking.

An empty glass jar on a scales with sourdough starter in a nearby glass

The first thing I do is open the glass jar and smell it. It should smell sweet and yeasty, but if it doesn’t, I throw it out and use some of my earlier discard (see below), but I’ve had to do that only once. Next, I stir it with a fork, and scrape out the glass jar into a drinking glass that is good for pouring. I then give the glass jar a good rinse and put it on the kitchen scales. The scales need to be pretty accurate, and the ones I have are accurate to about 1 gram.

21 grams of sourdough starter measured into the glass jar with the remaining starter in a nearby glass and another glass container nearby with discard

I measure 20 grams (or close to it) of starter back into the glass jar, and scrape the rest of it into another jar that I use to keep the discard. The discard jar holds up to about 180 grams, which is a good amount for some of the recipes that I use. The discard jar is always stored in the fridge.

23 grams of water measured into the glass jar with the remaining water in a glass nearby

I now rinse out the drinking glass and partially fill it with lukewarm water from the tap. In Melbourne, the tap water is completely fine for sourdough. I pour about 20 grams (or a little more) of water into the glass jar, on top of the 20 grams of sourdough starter from before. Don’t tip out the rest of the water yet, though.

20 grams of flour measured into the glass jar with the bags of flour in the background

I now measure 20 grams of flour, which is equal parts brown rice flour and glutinous rice flour (also known as sticky rice flour or sweet rice flour). The glutinous rice flour is cheap and readily found at the supermarket. The brown rice flour is an organic brand, which helps ensure appropriate micro-organisms are being introduced.

A dry, lumpy mixture in a glass jar with a fork in it

I mix it all together with a fork, and at this point, it may be too dry. If so, I spoon in a very small amount of additional water, until I can mix it into a smooth, thick paste.

A thick and smooth mixture in a glass jar

The result should be something like thickshake consistency, but it doesn’t hurt the sourdough if it’s a bit runnier. The weights given above are for a “100% hydration” sourdough starter, which is what most sourdough recipes assume, so if the starter is runny, you’ll need to deal with that when baking. However, if you’re not baking, you can just be more careful at the next feed, and the ratio should come right.

I leave the starter in its glass jar for a few hours until very tiny bubbles are just visible, and then I pop it back in the fridge for another week.

The way I’ve described this above, it probably sounds very finicky. In practice, it takes about 5 minutes of work per week, with the rest of the time spent simply leaving a glass jar on the kitchen bench or in the fridge. All up, it’s not much effort to maintain the sourdough starter so it can be used to bake amazing things.

Baking approach

If I’m going to do some sourdough baking, there are two things to address. Firstly, sourdough that is straight from the fridge needs some time to become properly active. Secondly, most recipes seem to assume there is 150 grams of starter available. These can both be dealt with together, but it does take a couple of days.

To get up to 150 grams, I remove the starter from the fridge and follow an approach similar to a normal feed as described, but with an intent to bulk up the starter rather than maintain the size of the starter. The glass jar won’t hold 150 grams of starter, so to bulk up the starter, I need to scrape it out into a bigger container. There is about 60 grams of starter in the glass jar, but in practice, about 50 grams can be scraped out.

So, you can do 50 grams starter + 50 grams water + 50 grams flour to get to the required 150 grams. However, this doesn’t leave any starter to continue with. In theory, you can use previous discard if there’s some, but I would do this as a last resort.

Instead, I put 20 grams starter back into the glass jar and feed it as usual (and put it back into the fridge), and put 30 grams into a new container, with 30 grams water + 30 grams flour, which gets to about 90 grams. I leave this for a full day, then discard 40 grams, and add 50 grams water + 50 grams flour, to get to 150 grams. It should be fine to bake with the next day, as it will be active and the right size.

If you’ve read through all of this and want to follow this approach yourself for gluten-free sourdough starter, I hope it was clear. Please let me know how you go!