Gluten-free Pesto Star Bread Recipe

I was inspired to cook this for a recent recipe club dinner on the theme of “in pieces”. It is based on a non-gluten-free recipe from the Woolworths site. However, since I had to tweak it a little, and others may also be interested, I’m putting my version here.

Ingredients

  • 200 mL of milk
  • 3 teaspoons (15 mL) of caster sugar
  • 10g instant yeast
  • 3 large eggs (2 initially, then 1 later)
  • 80g unsalted butter
  • 410g of GF bread flour – I use Well & Good Crusty Bread Mix
  • 1/2 teaspoon of table salt
  • small jar of basil pesto – I use Barilla Genovese Pesto
  • 50g of shredded mozzarella cheese
  • small sprinkle of grated parmesan cheese

Method

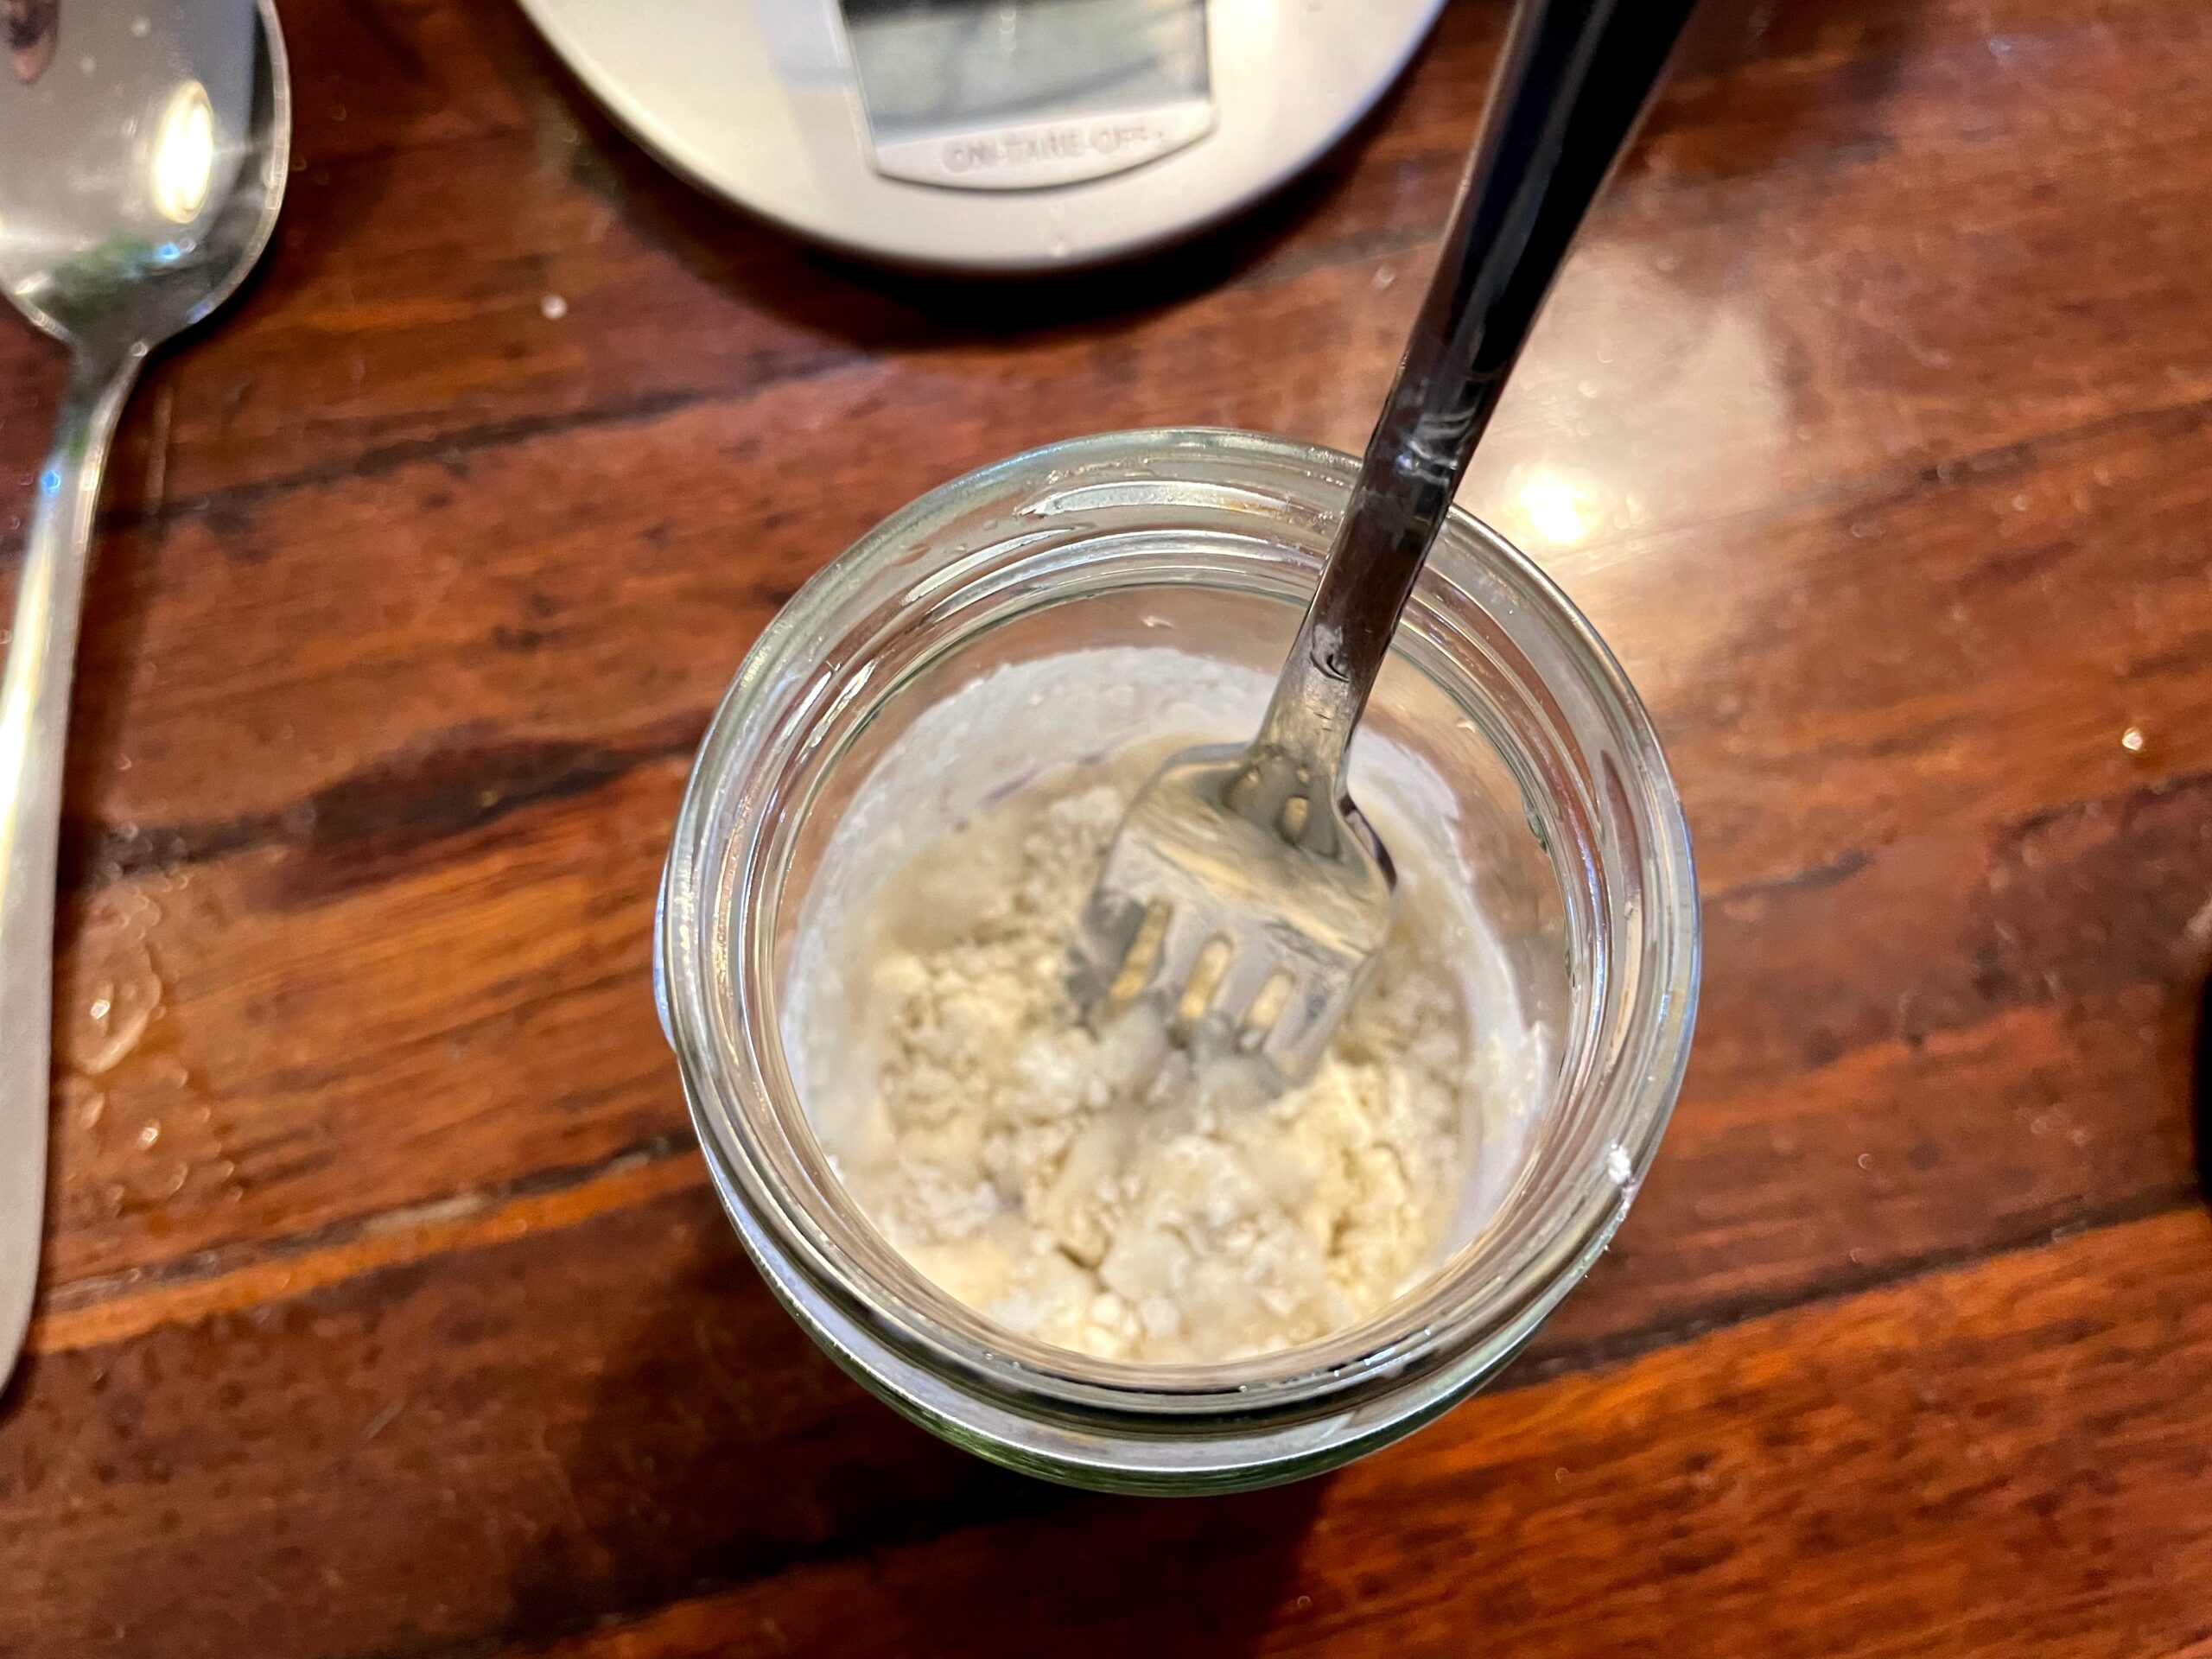
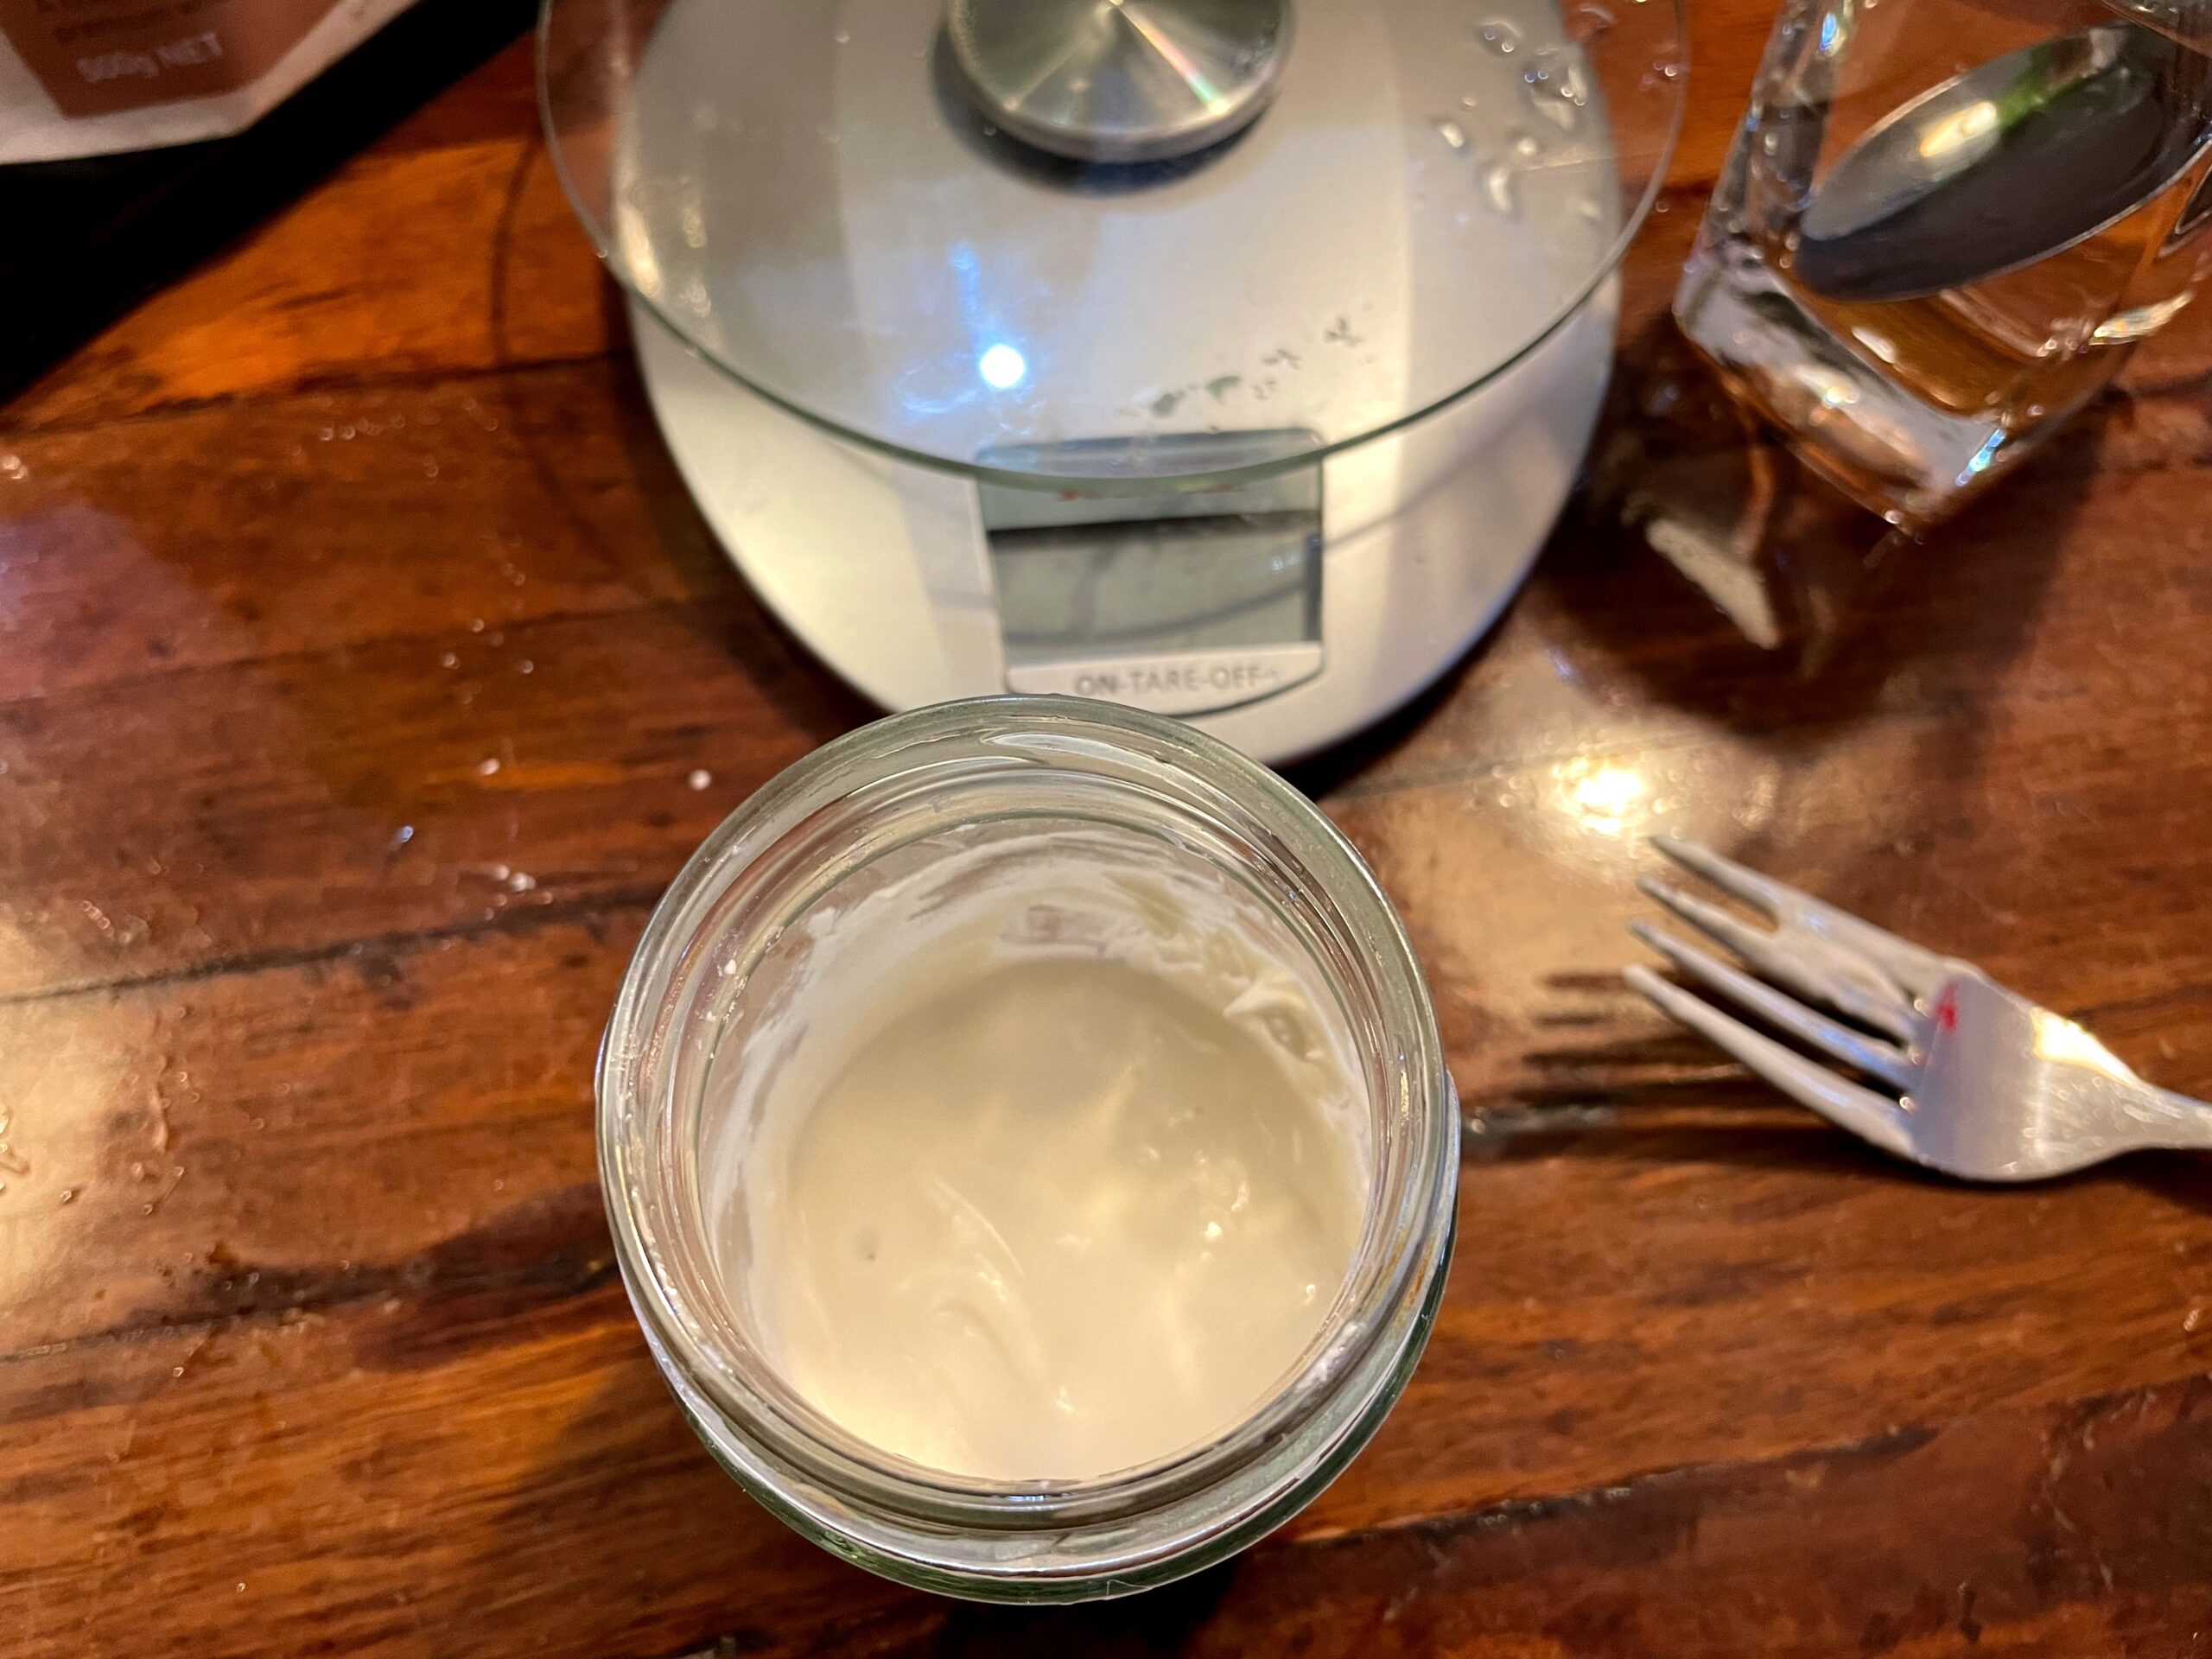
  1. Put milk in a microwave safe jug and warm on low power until tepid. Stir in caster sugar, then stir in the yeast. Set aside for 5-10 mins until it is clear that the yeast has activated (it becomes frothy).
  2. Break two of the eggs into a glass or cup and beat a little.
  3. Cube the butter and leave to soften.
  4. Put bread flour, salt, eggs, and the milk-yeast mixture into the bowl of a mixer, and using a dough hook, knead on low speed for 2 minutes until everything is combined. Up the speed a notch and knead for up to 10 minutes until the dough is smooth. You may need to stop the mixer a couple of times to rearrange the dough if the dough hook isn’t doing its job.
  5. If butter isn’t soft by this point, place it on a microwave-safe plate and give it some zaps at low power. Don’t get it to the point it is melting.
  6. While the mixer is running, add the butter a cube at a time, ensuring it is well combined before adding more. Let the mixer run for another 5 minutes.
  7. Pre-heat (fan-forced) oven to 180 degrees Celcius.
  8. Form the dough into a ball and place in a bowl under a tea-towel or plastic cover, in a warm place, until it has doubled. It may take 30-60 minutes.
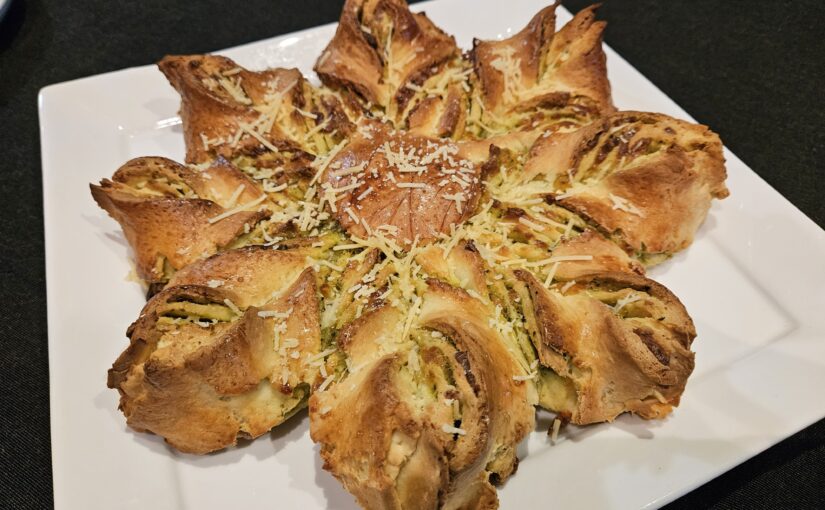
  9. Place baking paper on a large tray, e.g. a pizza tray. Cut the dough-ball into four – there should be about 200g in each quarter.
  10. With each dough quarter, place it between two pieces of baking paper, and roll into a flat circle. It doesn’t need to be absolutely circular. Place it onto the large tray, so you eventually create a stack. However, note the following step:
  11. For the first three such circles, spread sparingly a tablespoon (~15 mL) of pesto across the surface, leaving a small (1-2 cm) border without pesto. Sprinkle a third of the mozzarella cheese across the top.
  12. You now have a round stack of four flat dough layers with pesto and cheese between each layer. Place an upturned drinking glass (about 7 cm diameter) in the middle, and cut outward in radiating lines so that there are 16 even strips. The video on the Woolworths recipe page is worth a watch at this point. Remove the glass.
  13. With the remaining egg, break it into a glass or cup and beat a little. Using a pastry brush, brush the egg onto the border of the top layer.
  14. With pairs of adjacent strips, twist them in opposite directions and then push the tips together (that had been brushed with the egg) to join them, making a point of the star.
  15. Brush the remaining egg across the dough surface.
  16. Place the dough star in the hot oven for 30 minutes.
  17. Remove, and sprinkle grated parmesan across the bread.
  18. Ideally serve within a couple of hours of baking, but will keep in an air-tight container for another day.

Gluten-free Donuts (or Doughnuts)

I like ’em, whether they are called donuts or doughnuts, especially when they are fried, ring-shaped, and covered with a cinnamon-and-sugar powder. I recently impulse-bought a donut maker – one of the kinds that drops rings of batter into hot oil – and was looking forward to making some of my favourite kind.

However, when I went to search for a gluten-free, fried ring donut recipe, I couldn’t actually find one. I checked my trusty gluten-free recipe books and did several versions of web searches, but I didn’t find what I was looking for. I did discover some interesting yeasted donut recipes that I have put aside to try another time, though.

So, after a bit of experimentation, here is my recipe for gluten-free, fried ring donuts. It was based on this recipe for gluten-and-dairy free donuts that was pretty similar to the (glutinous) one on the box of the donut maker, but was for oven-baked donuts rather than fried ones.

Before you begin

bottom outlet of a plastic donut maker showing the rod centred in the middle of the outlet

It is important to ensure your donut maker is going to work for you. Perhaps I can’t be too fussy about a $13 donut maker, but it still needs to work. After it arrived, mine needed to be gently adjusted by pushing the internal component to re-seat itself in the plastic channels. Also, the plastic rod was a little warped, so when I pressed down on the top of the donut maker, the plastic rod – that ultimately forms the “hole” in the final donut – wasn’t centred correctly. I needed to spin the rod in place until when I pressed the button at the top, the rod stayed centred in the circular outlet at the bottom of the donut maker. I then used a permanent marker on the button at the top of the rod and the outer rim of the donut maker to help show me where it needed to stay aligned to for a good donut shape to be created.

three donuts in a frypan on a bbq with a bbq thermometer reading the oil temperature as 171 degrees Celcius

You also want to be able to control your oil temperature. For me, I used a BBQ thermometer and heated the oil in a frypan outside (to keep the hot oil smell out of the house). I could then control the oil temperature by either raising/lowering the lid of the BBQ or adjusting the gas setting. Around 180 degrees Celcius is the best temperature to fry your donuts, so ensure you can manage that +/- 10 degrees. A thermometer of some kind is highly recommended!

Ingredients

  • 140 g of gluten-free plain flour (a type with no xanthan gum)
  • 1/2 teaspoon (2.5 mL) of xanthan gum
  • 1 teaspoon (5 mL) of gluten-free baking powder
  • 1/2 teaspoon (2.5 mL) of table salt
  • 50 g of caster sugar
  • 1 teaspoon (5 mL) of ground cinnamon
  • 1 large egg
  • 1 teaspoon (5 mL) of vanilla extract
  • 80 mL of canola (or vegetable) oil
  • 175 mL of milk
  • 1 teaspoon (5 mL) of vinegar
  • At least 1 L of canola oil, or other suitable oil, for frying
  • Extra caster sugar and ground cinnamon for coating

Method

  1. Heat up the oil for frying, but keep an eye on it that it doesn’t get too hot.
  2. Sieve the dry ingredients into a large mixing bowl, and then combine well with a fork.
  3. Lightly beat the egg, and then add it and the other wet ingredients into the same mixing bowl. Beat until smooth, and then scrape into the donut maker.
  4. When oil is at temperature (near to 180 degrees Celcius), begin using the donut maker. Hold it just above the oil and press down on the button. The mix will be quite thick, but gently shake the donut maker and after about 5 seconds, there should be a good quantity of donut mix held at the end of the donut maker. Release the button and it should cut the mix away from the donut maker to drop a nicely-shaped ring of batter into the hot oil. Cook a batch of donuts together, maybe 3 or 4, or more depending on the size of your frypan or pot.
  5. Let the donuts cook for a couple of minutes, and then using a slotted metal spoon (or a potato masher in my case), gently turn the donuts over to cook for a couple more minutes. When they are done they should be a dark golden colour.
  6. Remove the batch of donuts to a plate covered with paper towel, allowing you to start another batch of donuts.
  7. Toss the cooked donuts in a mix of caster sugar and cinnamon (maybe 1 teaspoon of cinnamon to 50 g of caster sugar, but do whatever you feel tastes best), and then move to a cooling rack or plate.
  8. As with most gluten-free baking, these donuts will taste best when you’ve allowed them to cool to room temperature. It can be very tempting to eat them while they are still warm, but they will taste like they are undercooked at that point, sorry.

Makes 20 or so 6 cm-diameter donuts.

Gluten-Free Sourdough

I was late to lockdown-driven sourdough baking. It wasn’t until Melbourne’s second lockdown, in August 2020, that I finally got on the sourdough bandwagon. However, I have kept my sourdough starter alive since then, so I’ve achieved the ten-month milestone!

Still, if I was to share my starter with someone else, or, not that I want to think about it, fell sick and someone else needed to keep it going, my sourdough regime isn’t documented anywhere yet. This post is intended to record what I’ve been doing, and it’s a little bit different to other sourdough feeding approaches that I’ve read online.

It’s not radical or anything. It just suits me and my needs in two ways. Firstly, the sourdough starter is gluten-free. Secondly, it is pretty cheap given that it gets minimal feeding – only 20g of flour each week – unless I’m baking something.

Before I describe it, I’d like to credit my main inspirations for the technique I use:

Feeding Regime

I keep my sourdough starter in the fridge, and then one morning on the weekend, I remove it and allow it to warm up. This allows the starter to get active again, and after a few hours, it will be creating bubbles.

a jar with sourdough starter and in the background is a bag of brown rice flour and a bag of glutinous rice flour

As you can see here, I keep my sourdough starter in a small glass jar, and mark the fill level with a rubber band, in traditional style. In this picture, it has risen a little and looks bubbly. Note that this is basically as bubbly as it gets, unlike many pictures of other sourdough starters that you see online. However, it still seems to work perfectly fine for baking.

An empty glass jar on a scales with sourdough starter in a nearby glass

The first thing I do is open the glass jar and smell it. It should smell sweet and yeasty, but if it doesn’t, I throw it out and use some of my earlier discard (see below), but I’ve had to do that only once. Next, I stir it with a fork, and scrape out the glass jar into a drinking glass that is good for pouring. I then give the glass jar a good rinse and put it on the kitchen scales. The scales need to be pretty accurate, and the ones I have are accurate to about 1 gram.

21 grams of sourdough starter measured into the glass jar with the remaining starter in a nearby glass and another glass container nearby with discard

I measure 20 grams (or close to it) of starter back into the glass jar, and scrape the rest of it into another jar that I use to keep the discard. The discard jar holds up to about 180 grams, which is a good amount for some of the recipes that I use. The discard jar is always stored in the fridge.

23 grams of water measured into the glass jar with the remaining water in a glass nearby

I now rinse out the drinking glass and partially fill it with lukewarm water from the tap. In Melbourne, the tap water is completely fine for sourdough. I pour about 20 grams (or a little more) of water into the glass jar, on top of the 20 grams of sourdough starter from before. Don’t tip out the rest of the water yet, though.

20 grams of flour measured into the glass jar with the bags of flour in the background

I now measure 20 grams of flour, which is equal parts brown rice flour and glutinous rice flour (also known as sticky rice flour or sweet rice flour). The glutinous rice flour is cheap and readily found at the supermarket. The brown rice flour is an organic brand, which helps ensure appropriate micro-organisms are being introduced.

A dry, lumpy mixture in a glass jar with a fork in it

I mix it all together with a fork, and at this point, it may be too dry. If so, I spoon in a very small amount of additional water, until I can mix it into a smooth, thick paste.

A thick and smooth mixture in a glass jar

The result should be something like thickshake consistency, but it doesn’t hurt the sourdough if it’s a bit runnier. The weights given above are for a “100% hydration” sourdough starter, which is what most sourdough recipes assume, so if the starter is runny, you’ll need to deal with that when baking. However, if you’re not baking, you can just be more careful at the next feed, and the ratio should come right.

I leave the starter in its glass jar for a few hours until very tiny bubbles are just visible, and then I pop it back in the fridge for another week.

The way I’ve described this above, it probably sounds very finicky. In practice, it takes about 5 minutes of work per week, with the rest of the time spent simply leaving a glass jar on the kitchen bench or in the fridge. All up, it’s not much effort to maintain the sourdough starter so it can be used to bake amazing things.

Baking approach

If I’m going to do some sourdough baking, there are two things to address. Firstly, sourdough that is straight from the fridge needs some time to become properly active. Secondly, most recipes seem to assume there is 150 grams of starter available. These can both be dealt with together, but it does take a couple of days.

To get up to 150 grams, I remove the starter from the fridge and follow an approach similar to a normal feed as described, but with an intent to bulk up the starter rather than maintain the size of the starter. The glass jar won’t hold 150 grams of starter, so to bulk up the starter, I need to scrape it out into a bigger container. There is about 60 grams of starter in the glass jar, but in practice, about 50 grams can be scraped out.

So, you can do 50 grams starter + 50 grams water + 50 grams flour to get to the required 150 grams. However, this doesn’t leave any starter to continue with. In theory, you can use previous discard if there’s some, but I would do this as a last resort.

Instead, I put 20 grams starter back into the glass jar and feed it as usual (and put it back into the fridge), and put 30 grams into a new container, with 30 grams water + 30 grams flour, which gets to about 90 grams. I leave this for a full day, then discard 40 grams, and add 50 grams water + 50 grams flour, to get to 150 grams. It should be fine to bake with the next day, as it will be active and the right size.

If you’ve read through all of this and want to follow this approach yourself for gluten-free sourdough starter, I hope it was clear. Please let me know how you go!